Suryanamaskar: 12 Steps & Key Benefits

Generated from prompt:

Create a PowerPoint presentation titled 'Suryanamaskar' with 12 to 15 slides. The cover slide should include the AYoga logo, title 'Suryanamaskar', and 'Presentation by Suksham Sanehi, Sardar Dayabhai Patel College, Yavatmal'. The next 12 slides should show the 12 steps of Suryanamaskar with appropriate yoga pose images and brief explanations of each step. Include a final slide with 5 key benefits of Suryanamaskar such as physical fitness, improved flexibility, mental peace, better digestion, and increased energy levels.

A 14-slide PowerPoint on Suryanamaskar yoga, featuring a cover with AYoga logo & presenter info, detailed images/explanations of 12 poses (Pranamasana to return), and 5 benefits like fitness, flexibil

December 8, 202515 slides
Slide 1 of 15

Slide 1 - Suryanamaskar

  • Revitalizes body through sun salutations practice.
  • Enhances strength, flexibility and overall balance.
  • Promotes mental clarity and daily well-being.
  • Traditional sequence of twelve dynamic poses.
Slide 1 - Suryanamaskar
Slide 2 of 15

Slide 2 - Suryanamaskar

The title slide is titled "Suryanamaskar." It credits the presentation to Suksham Sanehi from Sardar Dayabhai Patel College, Yavatmal.

Suryanamaskar

Presentation by Suksham Sanehi, Sardar Dayabhai Patel College, Yavatmal

Source: AYoga logo

Slide 2 - Suryanamaskar
Slide 3 of 15

Slide 3 - Step 1: Pranamasana (Prayer Pose)

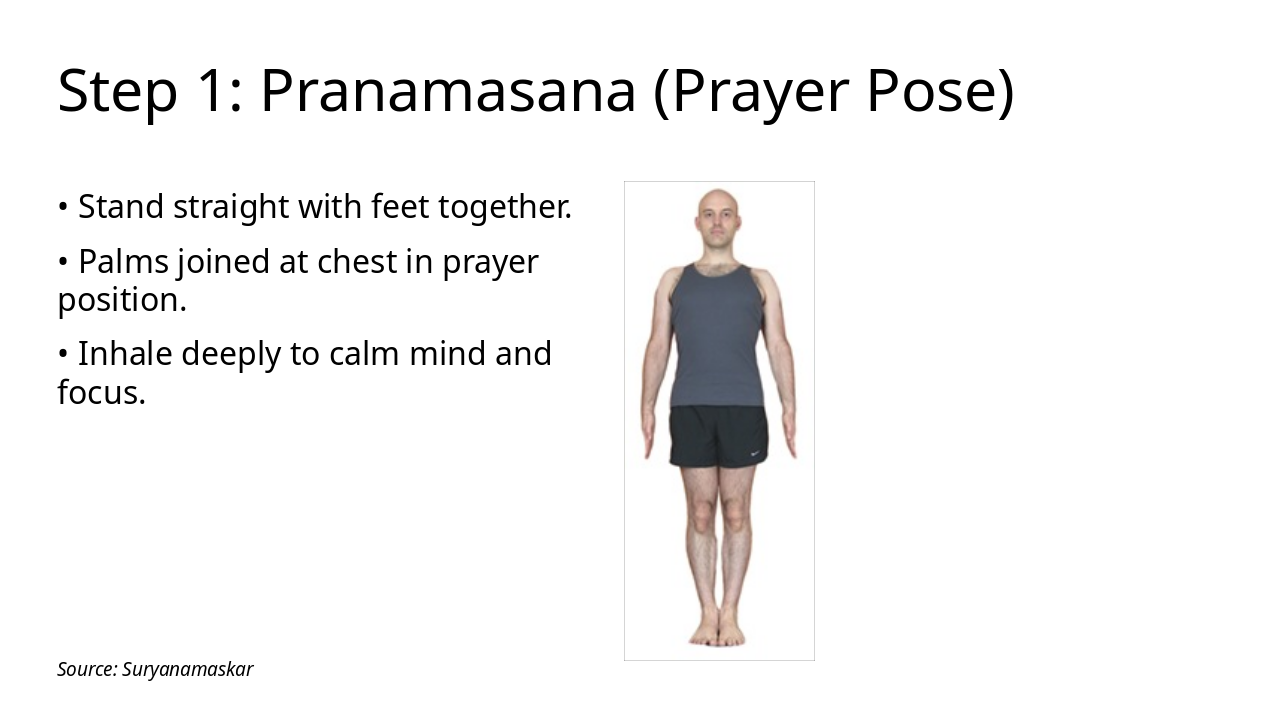
Step 1: Pranamasana (Prayer Pose) shows a yoga image with instructions to stand straight with feet together and palms joined at the chest in prayer position. It advises inhaling deeply to calm the mind and focus.

Step 1: Pranamasana (Prayer Pose)

!Image

  • Stand straight with feet together.
  • Palms joined at chest in prayer position.
  • Inhale deeply to calm mind and focus.

Source: Suryanamaskar

Speaker Notes
Stand straight, feet together, palms joined at chest in prayer position. Inhale deeply. Calms mind, improves focus.
Slide 3 - Step 1: Pranamasana (Prayer Pose)
Slide 4 of 15

Slide 4 - Step 2: Hasta Uttanasana (Raised Arms Pose)

This slide covers Step 2: Hasta Uttanasana (Raised Arms Pose), instructing to inhale, raise arms overhead, gently arch the back, and gaze upwards. It notes that the pose stretches the spine and expands the chest.

Step 2: Hasta Uttanasana (Raised Arms Pose)

!Image

  • Inhale and raise arms overhead
  • Gently arch back, gaze upwards
  • Stretches spine, expands chest

Source: Wikipedia

Speaker Notes
Inhale, raise arms overhead, arch back gently, gaze up. Stretches spine, expands chest.
Slide 4 - Step 2: Hasta Uttanasana (Raised Arms Pose)
Slide 5 of 15

Slide 5 - Step 3: Padahastasana (Hand to Foot Pose)

Step 3: Padahastasana (Hand to Foot Pose) involves exhaling, bending forward deeply from the hips, placing hands on feet or floor comfortably, and relaxing the head toward the knees. This pose effectively improves flexibility and digestion.

Step 3: Padahastasana (Hand to Foot Pose)

!Image

  • Exhale, bend forward from hips deeply
  • Hands to feet or floor comfortably
  • Relax head toward knees gently
  • Improves flexibility and digestion effectively

Source: Padahastasana yoga pose

Slide 5 - Step 3: Padahastasana (Hand to Foot Pose)
Slide 6 of 15

Slide 6 - Step 4: Ashwa Sanchalanasana (Equestrian Pose)

Ashwa Sanchalanasana (Equestrian Pose) requires inhaling to step the right foot back, bending the left knee, placing palms flat on the floor, and gazing upwards to stretch the spine. It strengthens the legs and improves lung capacity.

Step 4: Ashwa Sanchalanasana (Equestrian Pose)

!Image

  • Inhale and step right foot back
  • Left knee bent, palms flat on floor
  • Gaze upwards to stretch the spine
  • Strengthens legs and improves lung capacity

Source: Suryanamaskar presentation

Speaker Notes
Inhale, step right foot back, left knee bent, palms on floor, gaze up. Strengthens legs, lungs. [Image: Lunge pose right leg back]
Slide 6 - Step 4: Ashwa Sanchalanasana (Equestrian Pose)
Slide 7 of 15

Slide 7 - Step 5: Dandasana (Stick Pose)

Step 5: Dandasana (Stick Pose) instructs to exhale, straighten both legs, and keep the body straight like a stick. This pose tones the arms and spine.

Step 5: Dandasana (Stick Pose)

!Image

  • Exhale and straighten both legs.
  • Keep body straight like a stick.
  • Tones the arms and spine.

Source: Dandasana yoga pose

Speaker Notes
Exhale, straighten legs, body straight like a stick. Tones arms, spine.
Slide 7 - Step 5: Dandasana (Stick Pose)
Slide 8 of 15

Slide 8 - Step 6: Ashtanga Namaskara (Salute with Eight Parts)

Step 6, Ashtanga Namaskara (Salute with Eight Parts), instructs to exhale while lowering the knees, chest, and chin to the floor with hips elevated. This pose builds strength in the arms.

Step 6: Ashtanga Namaskara (Salute with Eight Parts)

!Image

  • Exhale, lower knees, chest, and chin to floor.
  • Keep hips up and elevated.
  • Builds strength in the arms.

Source: Ashtanga Namaskara

Speaker Notes
Exhale, lower knees, chest, chin to floor, hips up. Builds arm strength.
Slide 8 - Step 6: Ashtanga Namaskara (Salute with Eight Parts)
Slide 9 of 15

Slide 9 - Step 7: Bhujangasana (Cobra Pose)

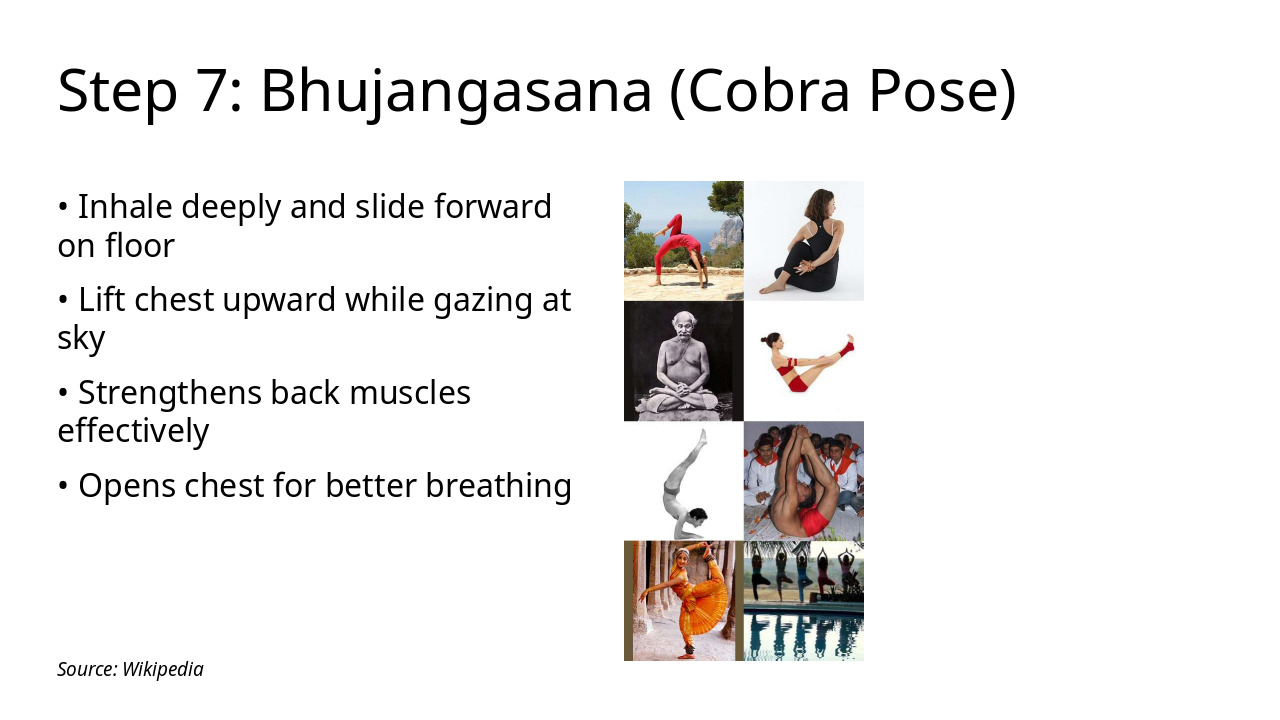
Step 7 features Bhujangasana (Cobra Pose), performed by inhaling deeply, sliding forward on the floor, lifting the chest upward, and gazing at the sky. It effectively strengthens back muscles and opens the chest for improved breathing.

Step 7: Bhujangasana (Cobra Pose)

!Image

  • Inhale deeply and slide forward on floor
  • Lift chest upward while gazing at sky
  • Strengthens back muscles effectively
  • Opens chest for better breathing

Source: Wikipedia

Speaker Notes
Inhale, slide forward, lift chest, gaze up. Strengthens back, opens chest.
Slide 9 - Step 7: Bhujangasana (Cobra Pose)
Slide 10 of 15

Slide 10 - Step 8: Parvatasana (Mountain Pose)

Step 8: Parvatasana (Mountain Pose) instructs to exhale, lift hips upward into an inverted V shape, and press heels down to the floor. This pose stretches the legs and back muscles.

Step 8: Parvatasana (Mountain Pose)

!Image

  • Exhale and lift hips upward
  • Form an inverted V shape
  • Press heels down to floor
  • Stretches legs and back muscles

Source: Suryanamaskar

Speaker Notes
Exhale, lift hips, form inverted V, heels down. Stretches legs, back.
Slide 10 - Step 8: Parvatasana (Mountain Pose)
Slide 11 of 15

Slide 11 - Step 9: Ashwa Sanchalanasana (Equestrian Pose - Left)

Step 9 shows Ashwa Sanchalanasana (Equestrian Pose - Left), instructing to inhale and step the left foot back into a lunge with the right knee bent at 90 degrees over the ankle. Maintain balance by gazing forward; this is the opposite side of Step 4.

Step 9: Ashwa Sanchalanasana (Equestrian Pose - Left)

!Image

  • Inhale and step left foot back into lunge
  • Right knee bent at 90 degrees over ankle
  • Maintain balance gazing forward
  • Opposite side of Step 4

Source: Ashwa Sanchalanasana

Slide 11 - Step 9: Ashwa Sanchalanasana (Equestrian Pose - Left)
Slide 12 of 15

Slide 12 - Step 10: Padahastasana (Hand to Foot Pose)

Step 10 of the sequence is Padahastasana (Hand to Foot Pose), shown in an image. Exhale to bring the right foot forward between the hands, bend the trunk fully forward from the hips to touch the feet, and repeat the forward bend stretch as in step 3.

Step 10: Padahastasana (Hand to Foot Pose)

!Image

  • Exhale and bring right foot forward between hands.
  • Bend trunk fully forward from hips touching feet.
  • Repeat forward bend stretch as in step 3.

Source: Wikipedia

Speaker Notes
Exhale, bring right foot forward, bend fully. Repeat stretch.
Slide 12 - Step 10: Padahastasana (Hand to Foot Pose)
Slide 13 of 15

Slide 13 - Step 11: Hasta Uttanasana (Raised Arms Pose)

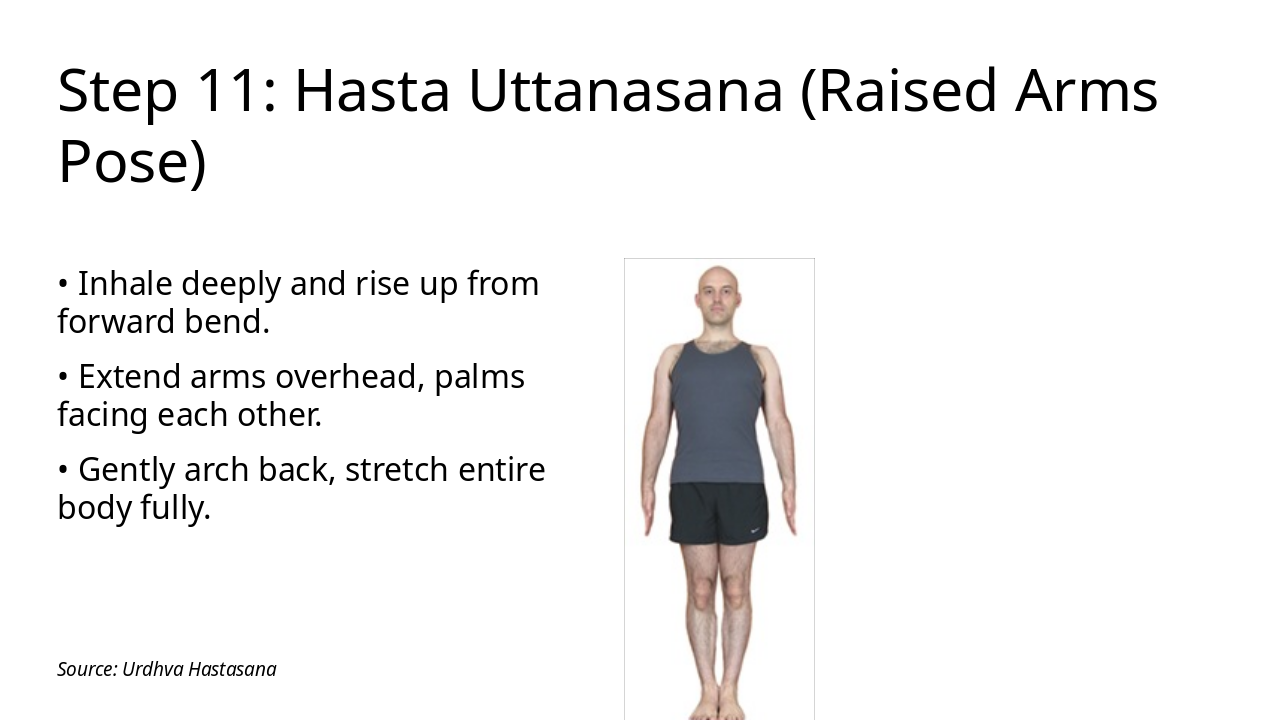
Step 11: Hasta Uttanasana (Raised Arms Pose) instructs to inhale deeply and rise from forward bend. Extend arms overhead with palms facing each other, then gently arch back to fully stretch the body.

Step 11: Hasta Uttanasana (Raised Arms Pose)

!Image

  • Inhale deeply and rise up from forward bend.
  • Extend arms overhead, palms facing each other.
  • Gently arch back, stretch entire body fully.

Source: Urdhva Hastasana

Speaker Notes
Inhale, rise up, arms overhead, arch back. Full stretch. [Image: Arms raised repeat]
Slide 13 - Step 11: Hasta Uttanasana (Raised Arms Pose)
Slide 14 of 15

Slide 14 - Step 12: Pranamasana (Prayer Pose)

Step 12: Pranamasana (Prayer Pose) instructs to exhale fully while standing and bring the palms together in prayer. This action returns you to the starting position, completing the Suryanamaskar cycle.

Step 12: Pranamasana (Prayer Pose)

!Image

  • Exhale fully as you stand
  • Bring palms together in prayer
  • Return to starting position
  • Complete the Suryanamaskar cycle

Source: Image from Wikipedia article "Tadasana"

Speaker Notes
Exhale, return to starting prayer position. Complete cycle.
Slide 14 - Step 12: Pranamasana (Prayer Pose)
Slide 15 of 15

Slide 15 - 5 Key Benefits of Suryanamaskar

The slide "5 Key Benefits of Suryanamaskar" lists enhancements to physical fitness, strength, and flexibility. It also promotes mental peace, focus, better digestion, and higher energy levels.

5 Key Benefits of Suryanamaskar

  • Enhances physical fitness and strength
  • Improves flexibility
  • Promotes mental peace and focus
  • Supports better digestion
  • Boosts energy levels
Slide 15 - 5 Key Benefits of Suryanamaskar

Discover More Presentations

Explore thousands of AI-generated presentations for inspiration

Browse Presentations
Powered by AI

Create Your Own Presentation

Generate professional presentations in seconds with Karaf's AI. Customize this presentation or start from scratch.

Create New Presentation

Powered by Karaf.ai — AI-Powered Presentation Generator